Prepare your walls before painting is a crucial step in ensuring a smooth, long-lasting finish. Painting your walls can transform your home, but a poor finish can make all your hard work feel wasted. One common problem many homeowners face is not knowing how to properly prepare their walls before painting. Without proper preparation, paint may peel, crack, or look uneven.
Fortunately, with a few simple steps, you can avoid these issues and ensure a beautiful, long-lasting result. If you’re looking for professional assistance, our wall painting service can help ensure your walls are perfectly prepped and ready for a flawless finish. In this guide, we’ll walk you through the key steps to help you prepare your walls before painting, ensuring a flawless result.
Why It’s Crucial to Prepare Your Walls Before Painting
The key to a smooth, even finish lies in how well you prepare your walls before applying paint. Even the best paint won’t look great if your walls aren’t ready. Here’s why preparation is vital:
- Smooth Surface: Properly prepared walls create a smooth surface that allows paint to adhere better.
- Longer Lasting Finish: Proper preparation helps paint last longer, preventing it from peeling or cracking over time.
- Better Coverage: When walls are properly prepared, paint coverage is even, reducing the need for multiple coats.
If you skip the preparation process, you might end up with an uneven and patchy look, requiring more effort and time to fix. Let’s explore the key steps to prepare your walls before painting.
1. How to Clean and Prepare Your Walls Before Painting
The first step to prepare your walls before painting is cleaning them. Dust, dirt, and grease can cause the paint to cling unevenly, which can result in an unsightly finish.
How to Clean Walls Properly:
- Start by removing any furniture or obstacles near the walls.
- Use a broom or duster to remove dust and cobwebs from the surface.
- For grease and grime, use a mixture of water and mild dish soap. A sponge works best for this job.
- Rinse the walls with clean water to remove soap residue, then dry them with a clean cloth.
This simple step will ensure that no dirt or grease interferes with the adhesion of your paint. A clean wall surface is the best starting point for achieving a perfect painted look.
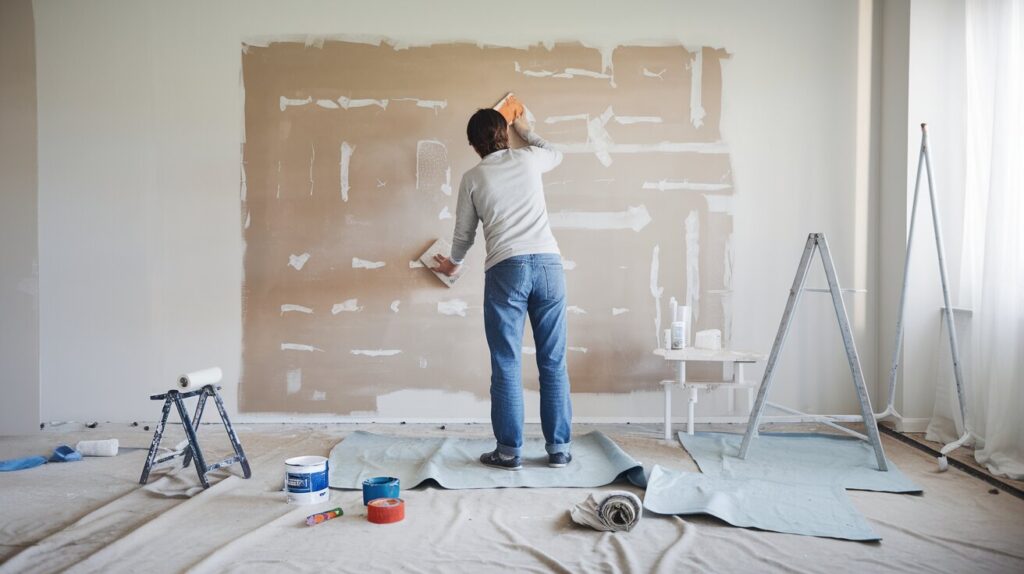
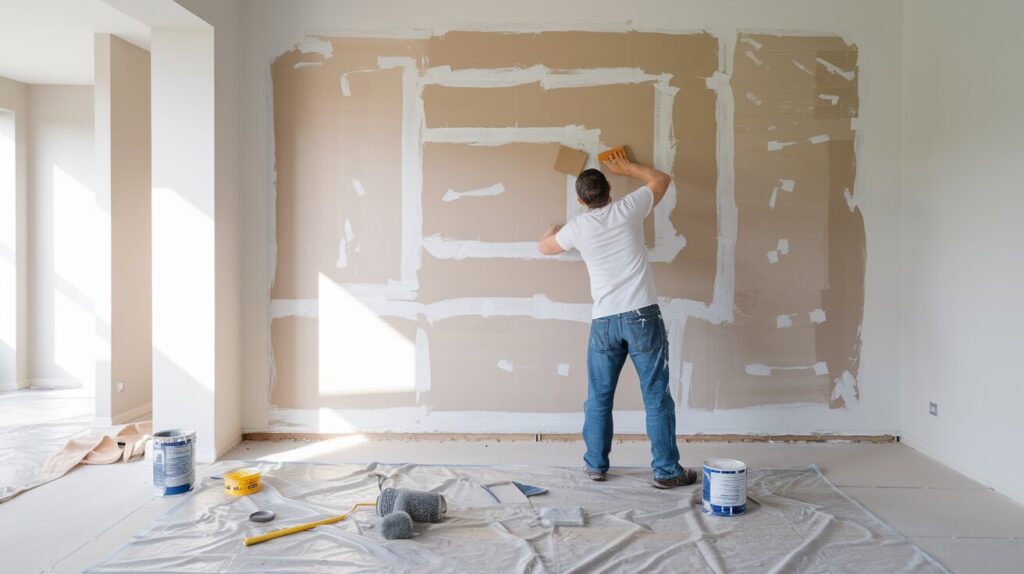
2. Repair Any Holes or Cracks to Prepare Your Walls Before Painting
Next, you’ll want to focus on filling any holes or cracks in your walls. This step is essential to prepare your walls before painting, as even small imperfections can stand out after painting.
Steps to Repair Wall Imperfections:
- Inspect your walls for cracks, holes, or dents.
- For small holes, use a lightweight spackling compound. Apply it with a putty knife, smoothing it out as you go.
- For larger holes, use joint compound or a wall repair kit. After applying the compound, let it dry completely.
- Once dry, sand the patched areas smoothly, ensuring they’re level with the rest of the wall.
Properly patched walls not only improve the appearance but also prevent the paint from settling into imperfections, giving your walls a flawless finish.
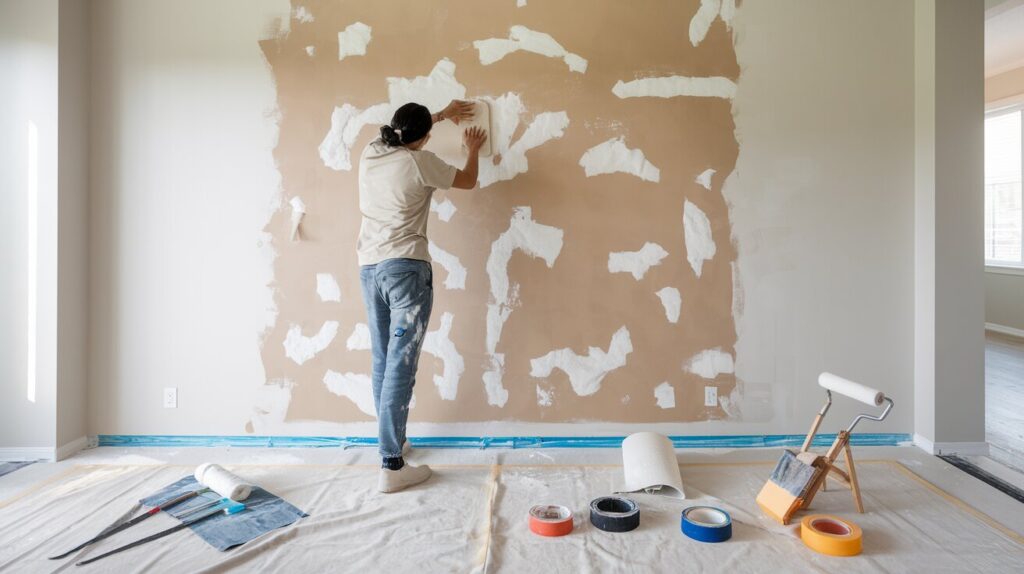
3. Sand the Walls for a Smooth Surface
Sanding your walls is another crucial step in how to prepare your walls before painting. Sanding ensures that the surface is smooth and that the paint adheres well.
Why Sanding is Important:
- Sanding helps remove any bumps or rough spots left after repairs.
- It provides a slightly rough texture that helps the paint bond better to the wall.
How to Sand Your Walls:
- Use a fine-grit sandpaper (220-grit is ideal) to lightly sand the walls.
- Work in small sections, sanding in a circular motion.
- After sanding, wipe the walls with a damp cloth to remove any dust.
Sanding your walls is an essential step for ensuring a professional and smooth finish when the paint is applied.
4. Prime the Walls
Applying a primer before painting is one of the most important steps to prepare your walls before painting. A good primer ensures that the paint adheres well, covers any stains, and improves the overall finish.
When to Apply Primer:
- If you have new drywall, primer is essential as it helps seal the surface.
- If your walls have stains or are a darker color, a primer will help conceal them and improve the paint’s coverage.
- For glossy or shiny surfaces, primer helps the paint stick better.
Choosing the Right Primer:
- Use a high-quality primer that suits your wall surface (e.g., drywall, wood, or metal).
- If you’re unsure, consider consulting a professional like Villa Painting Service for advice on the best primer for your specific needs.
5. Protect Your Furniture and Floors
Before you start painting, it’s essential to protect your furniture and floors from paint splatters. Covering surfaces that are not being painted will save you from cleaning up afterward.
How to Protect Your Home:
- Use drop cloths or plastic sheeting to cover your floors and any furniture you can’t move.
- Tape the edges of the drop cloths to keep them in place.
- Consider using painter’s tape to protect baseboards and moldings from unwanted paint splatters.
This step ensures that your entire space remains clean and free from paint stains during the painting process.
6. Test the Paint Color
Before you start painting the entire room, it’s a good idea to test the paint color on a small wall section. This step can prevent any surprises and ensures the paint will look good once it’s dry.
How to Test Paint Colors:
- Choose a small area on the wall that is less noticeable.
- Apply a small patch of your chosen paint and let it dry completely.
- Evaluate how the color looks in different lighting conditions. Remember, colors may look different under natural light versus artificial light.
Testing the color helps you confirm that it’s the right choice before committing to the entire room.
7. Final Touches Before Painting
Once you’ve prepared your walls by cleaning, repairing, sanding, priming, and testing your paint, it’s time for the final touches before painting.
Final Preparation Checklist:
- Double-check that all areas are smooth and repaired.
- Ensure the walls are completely dry.
- Remove any dust or debris from the walls after sanding.
These final steps will ensure that you’re ready to begin painting without any distractions or issues.
Conclusion:
Now that you know how to prepare your walls before painting, you’re well on your way to achieving a professional-looking result. By following these steps, you’ll ensure that your paint job lasts longer and looks flawless. If you’re not confident about doing the prep work yourself, consider reaching out to Villa Painting Service for professional assistance. Their expertise can help make sure your walls are perfectly prepped for painting, giving you the best possible outcome. Start your project with confidence, and enjoy your freshly painted walls for years to come.